Pulse sensor
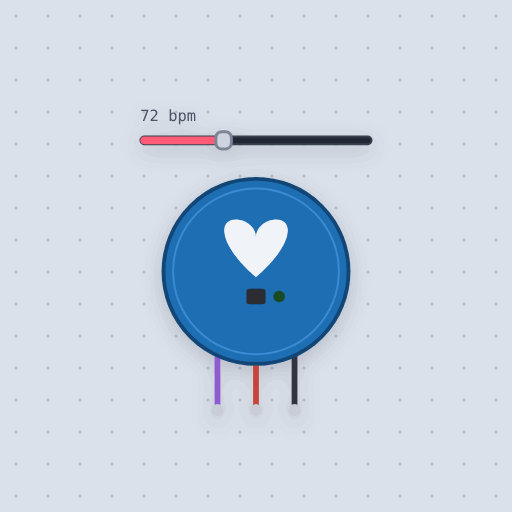
A green LED and a light sensor on a fingertip: the pulse as a wave on S, centered on half the supply.
- 3 pins
- 2 settings
- In 1 project
- In 1 lesson
The Pulse sensor in brief
What it is, and every setting the properties panel gives it.
The Pulse Sensor Amped puts a fingertip's pulse on one analog wire. A green LED shines into the skin and a light sensor sees how much light comes back. Each heartbeat pushes more blood into the finger, which takes more of the light, and an amplifier turns that into a wave on pin S. With no finger there, S sits at half the supply. Mokxi models the middle level, the beat shape with its main peak and dicrotic notch, and exact beat spacing of 60000 divided by bpm milliseconds. It does not model finger movement, drift, or beat to beat variation. The PulseSensor Playground library samples S every 2 ms in the background and finds each beat, so your loop can focus on drawing or acting. Use a threshold above the notch height, or just let the library find beats for you.
- Family
- Sensors
- Pins
- 3
- bpm
- 72
- swing
- 0.8
A circuit built around it, running and explained: the Heart rate sensor simulator.
3 pins
Named as the editor names them, so a wire lands where you expect it.
analogRead().How to use the Pulse sensor with an Arduino
"Heartbeat monitor" is a built-in project with this part wired up to an Arduino Uno. A Pulse Sensor on a fingertip, with PulseSensor Playground finding the beats. It runs beside the words on the page, and it opens in the editor as it is drawn. The sketch draws the wave on an SSD1306 OLED with the heart rate above it, and the Uno's own LED on pin 13 blinks with each beat.
With the default settings, the serial monitor showed: "Mokxi Arduino Uno: heartbeat monitor" then "beat: 71 BPM ibi 842". That is a heart rate near the starting bpm of 72.
Changing the setting to a bpm of 120 gave: "Mokxi Arduino Uno: heartbeat monitor" then "beat: 119 BPM ibi 504" and "beat: 119 BPM ibi 500". The beats come faster and the ibi, the time between beats, drops from 842 to about 500 ms.
While it runs, the simulator reports the heart rate in beats a minute, 0 with no finger, plus 1000 while the main peak passes. The slider sets the rate, and all the way left means no finger.
// Heartbeat monitor: a Pulse Sensor and an SSD1306 OLED.
//
//   A0       the Pulse Sensor's S (purple); VCC and GND from the rails
//   A4, A5   the OLED's SDA and SCL (address 0x3C)
//   pin 13   the Uno's own LED, blinking with each beat
//
// PulseSensor Playground reads A0 every 2 ms on Timer2 and finds the beats,
// so loop() only has to draw. Every 20 ms it takes the latest sample and
// plots it one column further along the bottom of the screen, scaled from
// the 0 to 1023 of the converter to the 48 rows under the heart rate; at the
// right edge it starts again from the left. The screen is sent every fifth
// column, since a whole frame over I2C takes a while.

#define USE_ARDUINO_INTERRUPTS true
#include <PulseSensorPlayground.h>
#include <Adafruit_GFX.h>
#include <Adafruit_SSD1306.h>

const int PULSE_PIN = A0;
const int LED = 13;
const int THRESHOLD = 550;

Adafruit_SSD1306 display(128, 64, &Wire, -1);
PulseSensorPlayground pulseSensor;

int column = 0;
int lastY = 40;
int bpm = 0;

void header() {
  display.fillRect(0, 0, 128, 16, SSD1306_BLACK);
  display.setCursor(0, 0);
  display.setTextSize(2);
  display.setTextColor(SSD1306_WHITE);
  if (bpm > 0) {
    display.print(bpm);
    display.print(" BPM");
  } else {
    display.print("-- BPM");
  }
}

void setup() {
  Serial.begin(115200);
  Serial.println("Mokxi Arduino Uno: heartbeat monitor");
Common Pulse sensor errors and fixes
Questions and answers
How do I wire a pulse sensor to an Arduino Uno?
Connect S to A0, VCC to 5V, and GND to GND. That is exactly how it is wired in the Heartbeat monitor project.
Which library works with the pulse sensor?
PulseSensor Playground. It samples the signal every 2 ms in the background, finds each beat, and keeps the heart rate with getBeatsPerMinute().
Why does my heart rate read 0?
The simulator reports 0 when there is no finger on the sensor. Move the slider right to simulate a finger with a heart rate.
What do the pulse sensor settings mean?
bpm is the starting heart rate, 72 by default, or 0 for no finger. swing is how far the main peak rises above the middle, 0.8 by default.
What is true about the Pulse sensor, here
In its help article’s own words: what the simulation gets right, and where it stops.
Modeled
The middle. S sits at half the supply, about 512 counts on a 5 V Uno, and the
wave rides on it, so a threshold a little above the middle (PulseSensor Playground's
default is 550) catches each beat.
The shape. Each beat is a quick rise to the main peak, a fall with a smaller bump (the dicrotic notch) and a shallow dip before the next. A sketch that triggers on any rise above the middle counts the notch as a second beat; one that waits for the main peak does not.
The rate. The beats come exactly 60000 / bpm milliseconds apart.
Not modeled
The light itself, a finger that moves or presses too hard, the slow drift as a finger settles, and the small variation from beat to beat of a real heart. The wave is a stand-in with its features in the right places, not a recording.
From Pulse sensor, in full.
See the Pulse sensor in a project
One built-in project uses it. It opens in the editor, already wired.
Where it turns up in a lesson
One lesson places it in its own circuit.
The boards it is shown on
This board has a built-in project with the Pulse sensor in it.
Keep going
The rest of the bench
Every one of these is drawn and simulated the same way.
Wire up the Pulse sensor
Open the editor and push it into the breadboard. It is free, and it runs on your own machine.