Servo, MG996R metal gear
The strong standard-size servo: the same pulses as the SG90, 0.17 s per 60 degrees on 4.8 V, 0.14 s on 6 V.
- 3 pins
- 3 settings
- In 2 projects
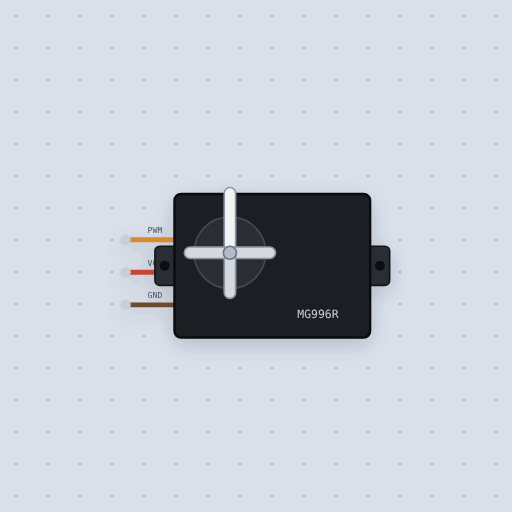
The Servo, MG996R metal gear in brief
What it is, and every setting the properties panel gives it.
The MG996R is the standard-size TowerPro servo with metal gears, the one a robot arm’s shoulder or a barrier gate reaches for once an SG90 is not strong enough. It keeps the same three-wire lead in the same order, brown ground, red supply and orange signal, and the same fifty-a-second pulse, so the Servo library’s attach() and write() drive it unchanged from an Uno pin, and the ESP32Servo calls do the same on an ESP32. What changes is the motor behind the gears. Mokxi takes its speed from the supply it actually sees: 0.17 seconds per 60 degrees at 4.8 volts and 0.14 at 6 volts, in a straight line between, so one sketch sweeps faster on a 6 volt pack. It ignores a pulse within 5 microseconds of the last one it obeyed, and stops moving under 4 volts. The usual mistake is feeding it from the board’s 5 volt pin; give it its own 5 or 6 volt supply and join the grounds. Torque and current are not modeled, so the brownout a stalled MG996R causes on a real Uno never happens here.
- Family
- Outputs
- Pins
- 3
- min_pulse
- 544
- max_pulse
- 2400
- range
- 180
3 pins
Named as the editor names them, so a wire lands where you expect it.
How to use the MG996R servo with an Arduino
Wire the MG996R the way you would an SG90, orange signal to pin 9, but take its red wire to a separate 5 or 6 volt supply rather than the Uno’s 5V pin, and join that supply’s ground to the Uno’s GND so the pulse has something to be measured against. The code does not change at all: attach() the pin once, then write() an angle from 0 to 180 every 20 milliseconds from loop().
The big servo example runs it from four AA cells. Turn the pack’s charge down in the properties panel while it runs and the horn slows from 0.14 seconds per 60 degrees toward the 0.17 it makes at 4.8 volts, which is the quickest way to see why a tired pack makes a robot arm sluggish.
On an ESP32, include ESP32Servo.h for the same attach() and write(); its setPeriodHertz() and allocateTimer() calls are accepted and change nothing here.
#include <Servo.h>
Servo arm;
void setup() {
  arm.attach(9);
}
void loop() {
  int angle = map(analogRead(A0), 0, 1023, 0, 180);
  arm.write(angle);
  delay(20);
}What is true about the Servo, MG996R metal gear, here
In its help article’s own words: what the simulation gets right, and where it stops.
Modeled
From the MG996R datasheet:
Speed. 0.17 s per 60 degrees at 4.8 V and 0.14 s at 6 V: about 353 and 429 degrees a second. The model takes the speed from the supply, in a straight line between those two figures.
Dead band. 5 us: a pulse within 5 us of the last one it obeyed does not move it.
The supply. Under 4 V it does not move.
Not modeled
Torque (9.4 kgf.cm at 4.8 V and 11 at 6 V on the datasheet) and current. A real MG996R under load pulls amps, and on a board's 5 V pin it browns the board out; the model has nothing on the horn and will not.
From Servo, MG996R, in full.
See the Servo, MG996R metal gear in a project
2 built-in projects use it. Each opens in the editor, already wired.
The boards it is shown on
This board has a built-in project with the Servo, MG996R metal gear in it.
The rest of the bench
Every one of these is drawn and simulated the same way.
Wire up the Servo, MG996R metal gear
Open the editor and push it into the breadboard. It is free, and it runs on your own machine.