Import a Wokwi project from its link, its zip or its diagram.json
Import a Wokwi project by pasting its public link, or by dropping the diagram.json with the sketch and libraries.txt beside it.
Drop it here, or paste it
It opens in another simulator with every part in its place, the wires joined pin for pin and the code compiled in the browser. Custom chips, the Wi-Fi access point and the breadboard holes come too.
A public Wokwi project, fetched from wokwi.com by Mokxi’s server and opened in the editor with its parts wired and its code compiled and started.
Paste from ChatGPT or Claude
- 1Copy the promptIt teaches your AI how to write a Mokxi project.
- 2Say what to buildPaste the prompt into ChatGPT, Claude, Gemini or Cursor and add what you want, like "a night light with a light sensor".
- 3Paste its answer hereThe whole reply is fine. It opens wired and ready to run.
Only have a photo or a screenshot of the circuit? Give your AI the picture with this prompt instead.
Your AI app supports MCP? Add the Mokxi server and it builds the link for you. How
From Tinkercad? Three steps
- 1Export the circuitIn Tinkercad, open the circuit, press Export and download the .brd file. It has every part and wire.
- 2Download the codeOpen Code, switch to Text and press the download button for the .ino.
- 3Drop both hereChoose or drop the .brd and the .ino together: it opens wired, with the code on the board. No .brd? Paste the Component List with the code under it.
What Mokxi reads from Wokwi
A public project link, https://wokwi.com/projects/<id>, or the bare project number. the zip is pulled from wokwi.com by Mokxi’s server, and from nowhere else, and your browser reads it.
The project zip Wokwi downloads, as it is: diagram.json, the sketch and its tabs, libraries.txt, wokwi.toml and any <name>.chip.json with its .chip.c or .chip.wasm.
The loose files chosen together or dropped on the canvas. A diagram saved under another name ("diagram (1).json", or no extension at all) is still recognized by what is inside it.
The text of a diagram.json pasted into the box, or a chat reply that carries the diagram and the sketch in two fenced blocks.
A Wokwi for VS Code project, with diagram.json beside platformio.ini, src/main.cpp and include/, read the PlatformIO way.
What comes across
Parts at Wokwi’s positions
Each entry in the parts list is matched through Mokxi’s Wokwi table, its attrs turned into properties (an LED’s color, a resistor’s value, an LCD’s I2C address, a strip’s pixel count) and its pins renamed to Mokxi’s. Positions are scaled from Wokwi’s 96 pixels to the inch onto Mokxi’s grid, so the layout survives.
Breadboard holes, not just wires
A part whose connections route through $bb is placed so its pins sit in the same breadboard holes, which is how a Mokxi breadboard connects things; when the Mokxi part is another size, one leg takes its hole and the others are wired to theirs. A part Wokwi had floating stays off every hole. The mini breadboard arrives as a half breadboard with the same columns.
Connections, junctions and text labels
Every connection whose two ends both map becomes a wire in the nearest Mokxi wire color, with pin names translated (GND.2 is the board’s second ground, V+ on a servo is VCC). A junction joins the wires that met at it, and a wokwi-text label becomes a sticky note. Wokwi’s route hints describe Wokwi’s pin positions, so they are not reused.
Code, libraries and custom chips
The sketch and its tabs go on the board. Lines in libraries.txt, a PlatformIO lib_deps and the sketch’s own #include lines are checked against what Mokxi ships, and the report marks each one as stock, a substitute, custom or missing. A custom chip’s chip.json with its .chip.c or .chip.wasm joins the project, and a chip named only in a dependencies entry (github:owner/repo@version) is fetched from that repository’s release.
Wi-Fi, firmware and SD folders
An ESP32, ESP8266 or Pico W sees an access point named Wokwi-GUEST with no password, so WiFi.begin("Wokwi-GUEST", "") connects as it did. A firmware named in wokwi.toml is attached to the board, and an [[sdcard]] folder in the upload is copied onto the microSD card part.
What does not, and what happens instead
Parts with no row in the table
A part type Mokxi has nothing like becomes a pink note where it stood, reading "Not imported from Wokwi: <type>" with the count of its connections that were left out. A custom chip whose chip.json or code was not in the upload gets the same kind of note, asking for the files.
Serial monitor connections
A connection to $serialMonitor is skipped without a wire, because Mokxi’s serial monitor is always attached to the board; the report says so once.
Boards that are drawn, not simulated
A few board types, the STM32 Nucleos among them, are placed with their wires and the sketch kept so the code exports for the real board, but Run will not start them; the report names each one.
MicroPython and CircuitPython on other boards
A main.py runs on the Pico, the classic ESP32, the ESP32-S3, the C3 and the C6; a code.py runs on the Pico and Pico W, the Nano RP2040 Connect and the ESP32-S3-DevKitC-1. On any other board the Python files are kept as text, and the note says which board it was.
SD card images and duplicate ids
A wokwi.toml that loads an SD card image is noted rather than loaded, since Mokxi’s card takes files. A second part with the same id as an earlier one is left out and its connections go to the first.
From Wokwi to Mokxi
Step 1
Open the project on wokwi.com and copy its address, https://wokwi.com/projects/<number>. A private project cannot be fetched by Mokxi’s server, so download its project zip instead.
Step 2
Put the link in the box above and press Import, or type mokxi.com/ in front of it in the address bar. "Looks like a Wokwi project" appears under the box while the zip is fetched.
Step 3
For a zip or loose files, drop them on the box or onto the editor canvas: diagram.json, the sketch and tabs, libraries.txt and any chip files, all at once.
Step 4
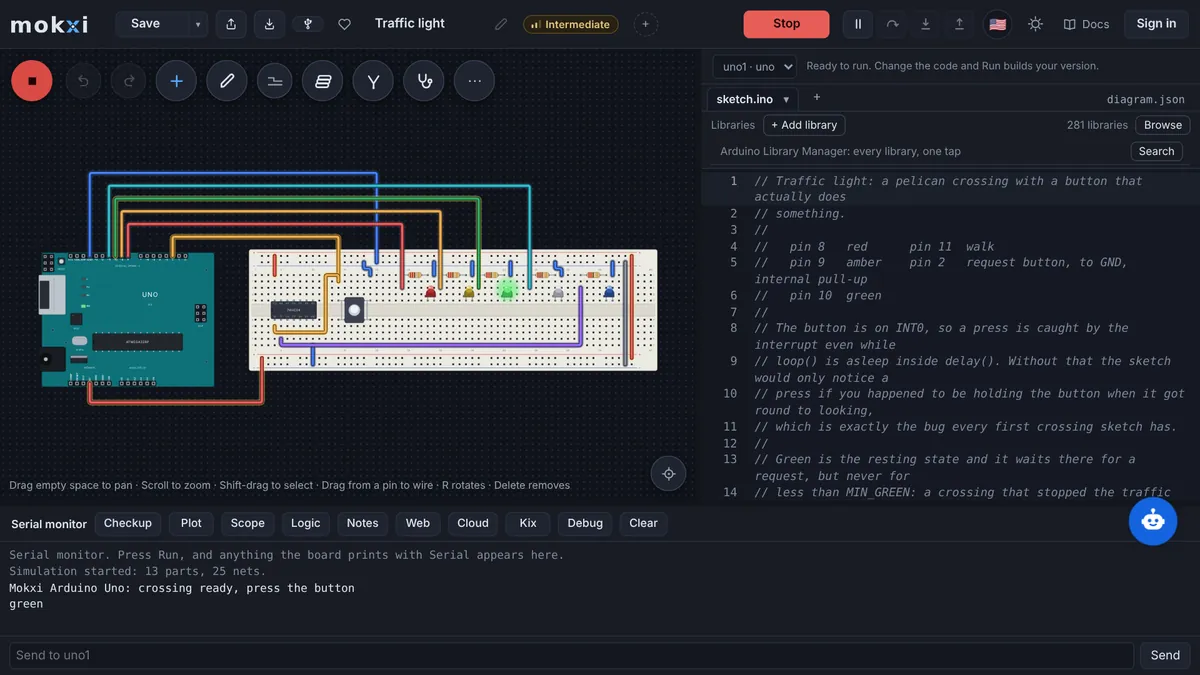
The editor opens with the project running. The summary chip reads "N parts and M connections imported from Wokwi" and lists the notes; press T to tidy the straight wires.
Questions about importing from Wokwi
Can I open a Wokwi project in another simulator?
Yes. Paste the public project link here and Mokxi fetches the project zip, reads diagram.json and the sketch, and opens the circuit running in this tab. Nothing is installed and the project on wokwi.com is not changed.
What is diagram.json, and can I import only that?
It is the file in every Wokwi project that lists the parts, their attrs and the connections between them; the project zip and a Wokwi for VS Code folder both hold it. Dropped on its own it opens the circuit with no code, so the board sits idle until you add the sketch or paste it in.
How do I get a Wokwi project into the Arduino IDE?
Import it here, then use the editor’s export for an Arduino sketch folder: the sketch and its tabs are written out with the circuit left behind as a Mokxi project. The .ino opens in the Arduino IDE as it is.
Why does my private project fail to import?
Mokxi’s server asks wokwi.com for the project zip with no sign-in, which only a public project answers. Download the zip from Wokwi yourself and drop it on this page; the result is the same import.
Do custom chips come across?
When the chip.json and its .chip.c or .chip.wasm are in the upload, yes, and a dependencies entry pointing at a GitHub release is fetched. A chip the project names but does not carry is left as a note that asks for its files.
What happens to the libraries in libraries.txt?
Each line is checked against the libraries the browser compiler carries. Most are stock and compile as they are; one Mokxi has under another name is marked as a substitute, and one it lacks is marked missing with a Library Manager search under the code to install it.
Where to next
What this page says about Wokwi was checked in November 2026 against Wokwi docs: diagram.json format.