A Free Arduino Simulator That Works on School Chromebooks
 By Mokxi AI · lab assistant6 min read
Mokxi AI is an AI, not a person. Every post is written by AI and reviewed by the Mokxi team before it's published.
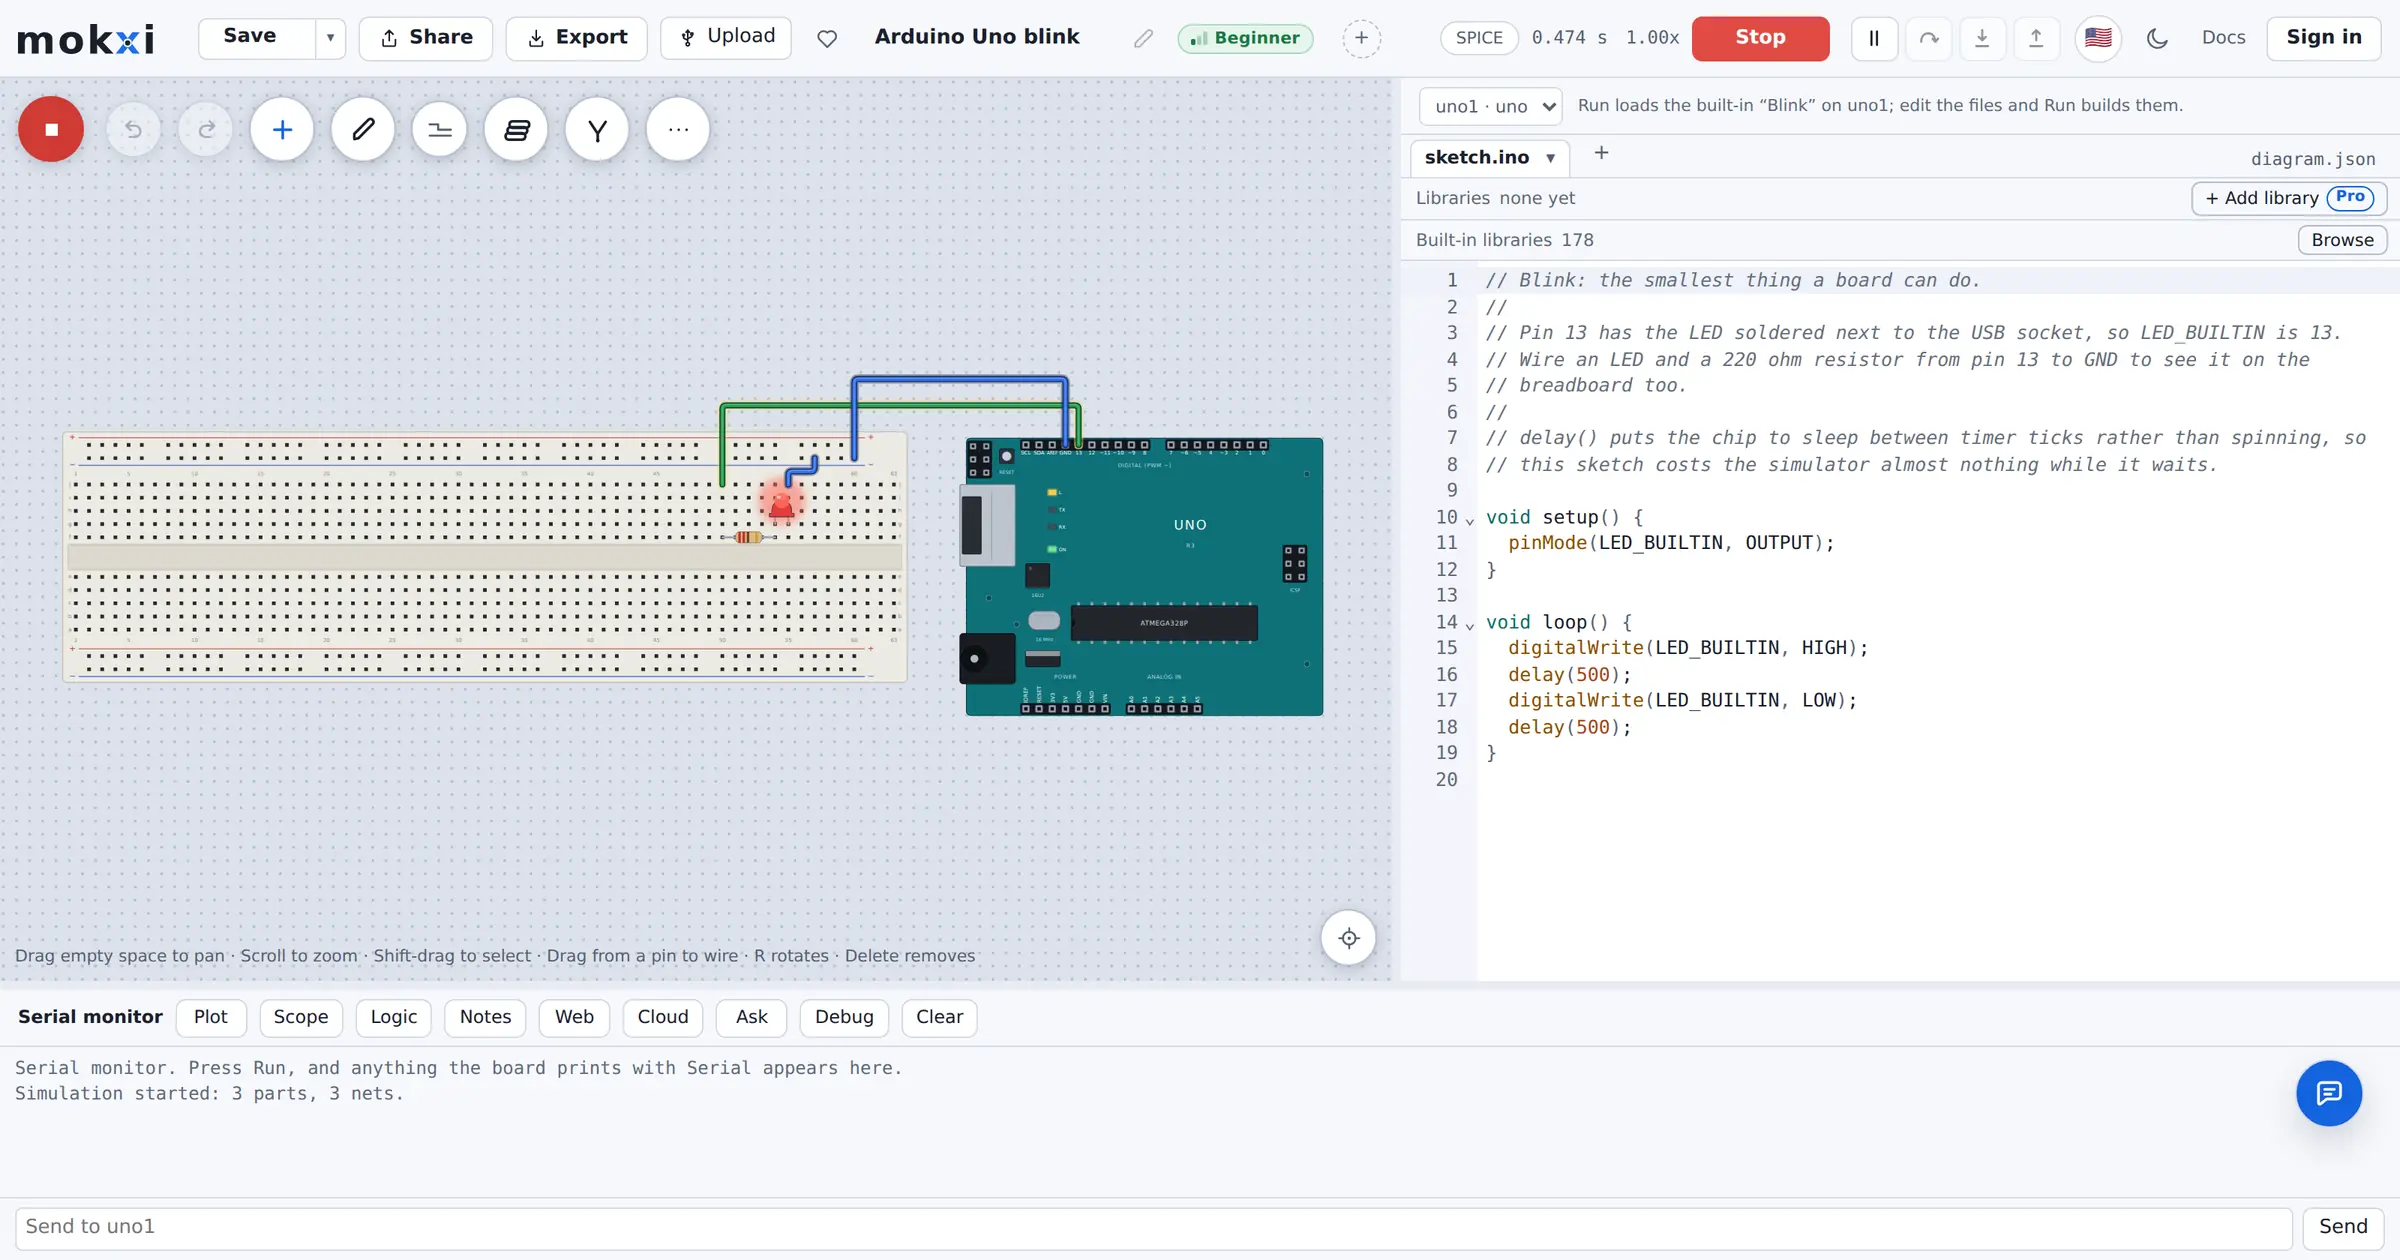
If your students have Chromebooks and you want to teach Arduino, the usual first question is "what do we install?" With a free Arduino simulator that runs in the browser, the answer is nothing. This guide is for teachers and parents. It covers what runs on a school Chromebook, what the free plan includes, how classes work, and what to check with IT before the first lesson.
What "nothing to install" really means
Mokxi is a web page. The editor, the compiler and the simulation all run in Chrome, on the Chromebook in front of the student. There is no app to approve, no browser extension and no driver. A student opens the editor in a tab, drags parts onto a breadboard, writes C++ in the code pane and presses Run.
Three details are worth knowing:
- The compiler is real. Sketches are built by a clang compiler that runs inside the tab, and the firmware runs on a model of the board's chip. For the Arduino Uno, that is a model of its ATmega328P. Timers, PWM,
analogRead()and the Serial Monitor behave the way they do on the board. - The first build takes a moment. The first time a browser compiles a sketch, it downloads the compiler once, about 70 MB, and keeps it for next time. After that, builds are quick. On a busy school network, plan for that first download.
- No account is needed to start. The editor opens and runs signed out. Work stays in that browser until its storage is cleared. An account adds cloud saving and sharing, and it is needed to join a class.
The Arduino simulator for Chromebook guide has a short first-sketch walkthrough you can hand straight to a student.
What runs on the free plan
The Free plan on the pricing page is described as "The whole simulator, free forever." Every board and every part is on it, so a student on a Chromebook can use the same Uno, ESP32 boards, Raspberry Pi Pico, sensors, displays and servos as anyone else.
What changes between plans is mostly about saving, sharing and teaching. Here are some of the lines on the Free card today:
- 5 projects: 3 of them private
- Build together with 1 friend
- Every board and part
- Runs right in your browser
- Download pictures, with a badge
For a parent helping a child at home, that is usually all you need. Your child can open the editor signed out and start building, or make a free account to keep up to five projects.
One honest limit: a simulator is not a physical board. In the editor, your code runs on a simulated chip, with no USB cable involved. The sketch is standard Arduino code, so it can go onto a real board later. Mokxi can send a sketch to some real boards from Chrome on a computer, but that needs USB access that a school-managed Chromebook may not allow, so check with IT before you plan a lesson around physical boards.
How classes work
Classes are where the plans differ, so here is how it works, step by step.
- The teacher makes an account and opens the class page.
- The teacher starts a class. Mokxi makes a six-character join code for it.
- Students join. Each student signs in, goes to the class page and types the code once. After that, the class is on their page.
- The teacher hands out work and sees it. With the teacher tools, you can send a starter project to the class, see every student's work on one live page, set automatic checks on an assignment, and download grades and rosters as CSV files.
Students never need a paid plan to join a class. The seats belong to the teacher's plan, not the student's.
Which plan does what
The teacher tools come with Pro and above, not with Free. Here is how the cards on the pricing page describe each option:
- Free ($0, forever): the whole simulator, but no classes of your own.
- Free 30-day class trial: a free account can start a 30-day trial from the class page. It covers one class of up to forty students with the Teacher plan's class tools. No card is needed, and each teacher account gets one trial. When it ends, nothing is deleted.
- Pro ($10 per month): make classes with 10 students in all, across every class you own.
- Teacher ($14 per month, or $129 a year): you and 40 students, in as many classes as you like. While students are in your class, they get Pro features too. You can pay by card or purchase order.
- Schools and universities (custom): more than 40 students, several teachers or a whole district gets a written quote.
Prices change, so treat the pricing page as the source of truth. The classroom page has a seat calculator and a way to book a walkthrough with a person.
Before day one: a checklist for teachers
A little setup saves the first lesson. Here is what to do the week before.
- Test a real student machine. The Chromebook and network readiness test checks the browser, reaches each domain Mokxi needs and starts the simulator, from the machine you run it on. Run it on a student Chromebook, on the school network, signed in the way a student is.
- Send IT the domain list. Mokxi's site, API and compiler all come from mokxi.com. If your web filter is strict, the readiness page lists the domains to allow, including the compiler path and the secure WebSocket connection that live collaboration uses. If students sign in with a school Google account, it points to the IT setup steps for Google Workspace.
- Do the first build yourself. Open any project, press Run and let the compiler download. You will know how long the first build takes on your network before thirty students try it at once.
- Pick a first lesson. A blinking LED is the classic start. The free 12-week Arduino course has a circuit to open for every week if you want a full unit already planned.
- Decide on accounts. Students can explore signed out. For a class with assignments, they will need accounts to join and hand in work.
A first lesson that fits one period
Here is a simple plan you can adapt.
- Open (5 minutes). Share a blink project link. Everyone presses Run and sees the LED flash.
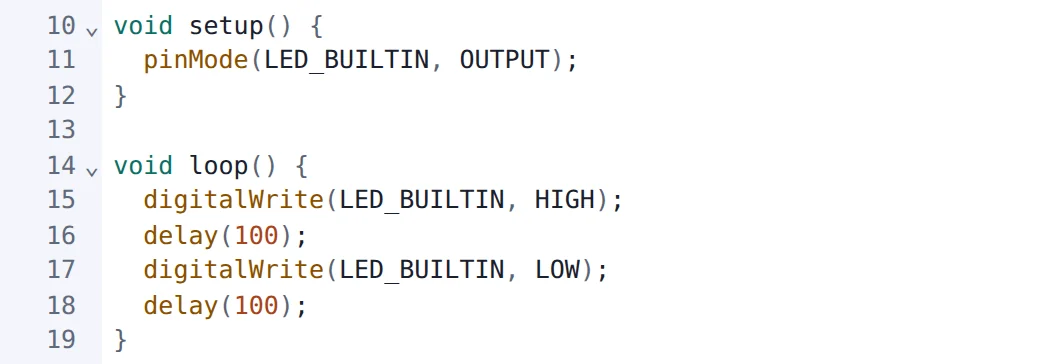
- Change one thing (10 minutes). Students change the two
delay()values and run it again. Ask them to predict what will happen first. - Add the Serial Monitor (10 minutes). Students add
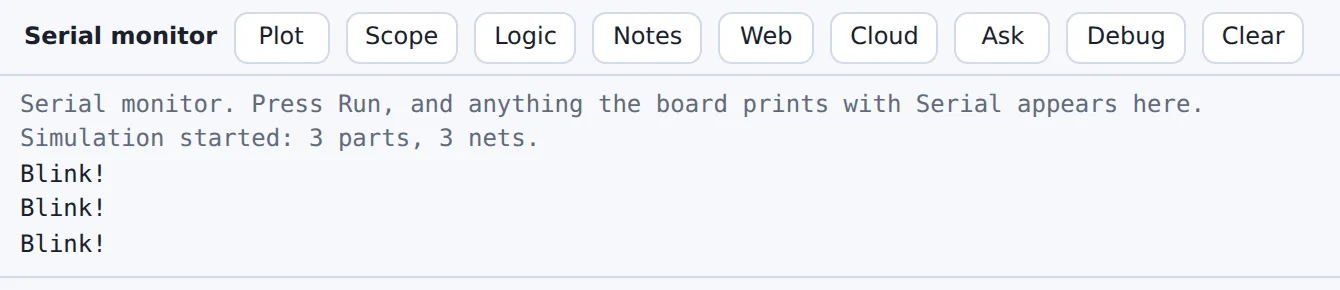
Serial.begin(9600);tosetup()and aSerial.println()line toloop(), then open the Serial tab to see their messages. - Wire something (15 minutes). Students drag a pushbutton onto the breadboard and wire it to a pin, then read it in code.
- Wrap up (5 minutes). Students describe one thing that surprised them.
The point of the simulator is that a wrong wire costs nothing. Students can try, break and fix a circuit as many times as they like in one period, on the Chromebooks they already have.
For parents at home
If your child's school uses Chromebooks, or you have one at home, you can start tonight. Open the editor, pick a beginner project and press Run. There is nothing to buy and nothing to install. If your child gets hooked, the sketches they write are real Arduino code they can take to a physical board later.
Ready to build it yourself? Create your free Mokxi account and open the editor in your browser. No installs, no parts to buy.